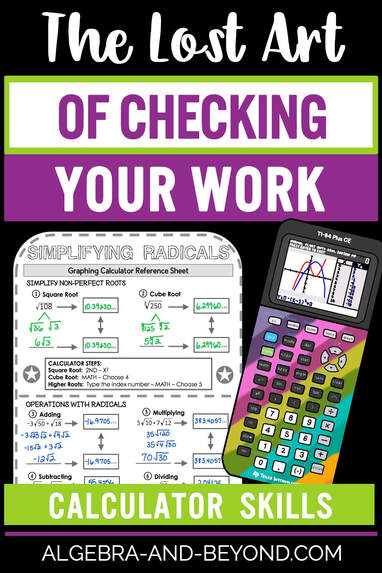
 I am a HUGE advocate for teaching students how to use a graphing calculator to check their answers. In fact, it’s probably one of the MOST important skills I’ve taught my students. Yes, I know…being able to find a solution algebraically is extremely important, and of course, I teach them that. And, of course, I require them to show their work. BUT, when they turn in an assessment, I want them to be confident that their answers are correct. Feedback is extremely helpful, and by using the graphing calculator it can be instant! You know, I probably should have titled this post “The Lost Art of Checking Your Answers”. Sometimes I simply don’t understand why students don’t check their answers?!?! I know that some students are just too “lazy” to check, algebraically. Yes, I said it! BUT, at they could at least use their calculator to confirm or disaffirm their answer. Just think, if students were able to check every problem BEFORE they turn in their work? Then, they would know immediately if they have an answer right or wrong…and if wrong, they can fix it! There are soooooo many math topics that students can use the calculator to check their answers. Here are just a few ways:
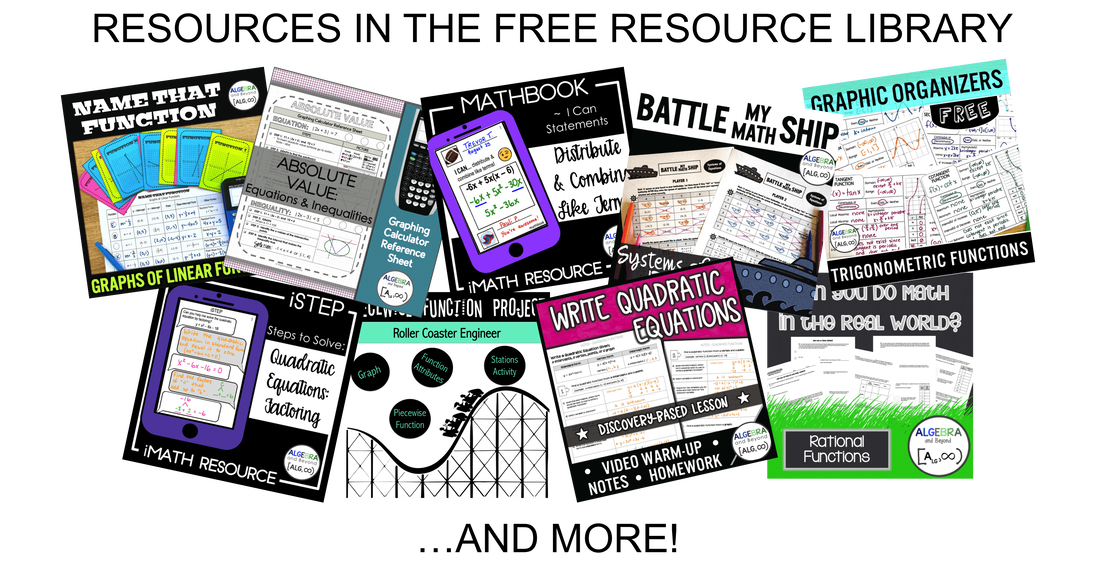
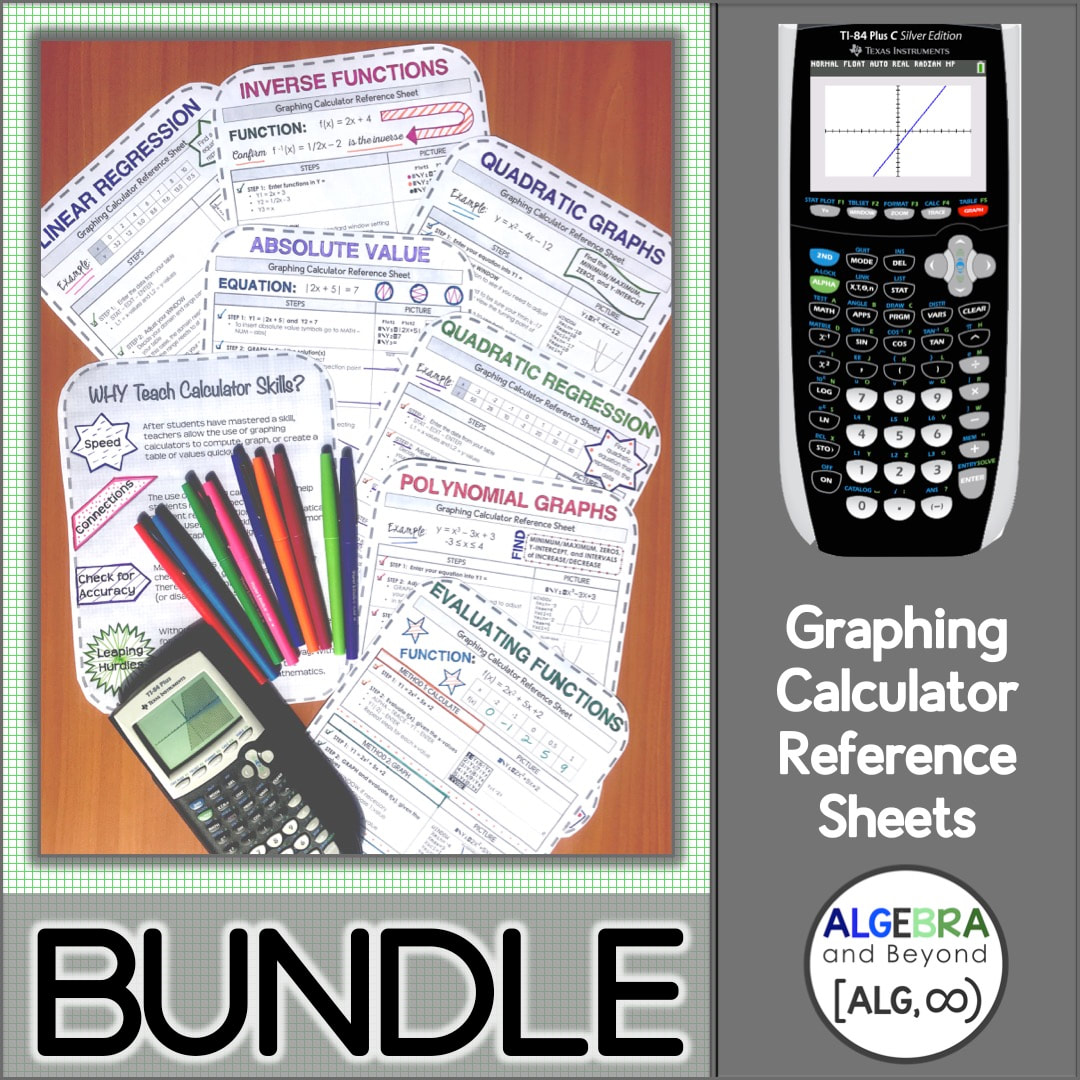
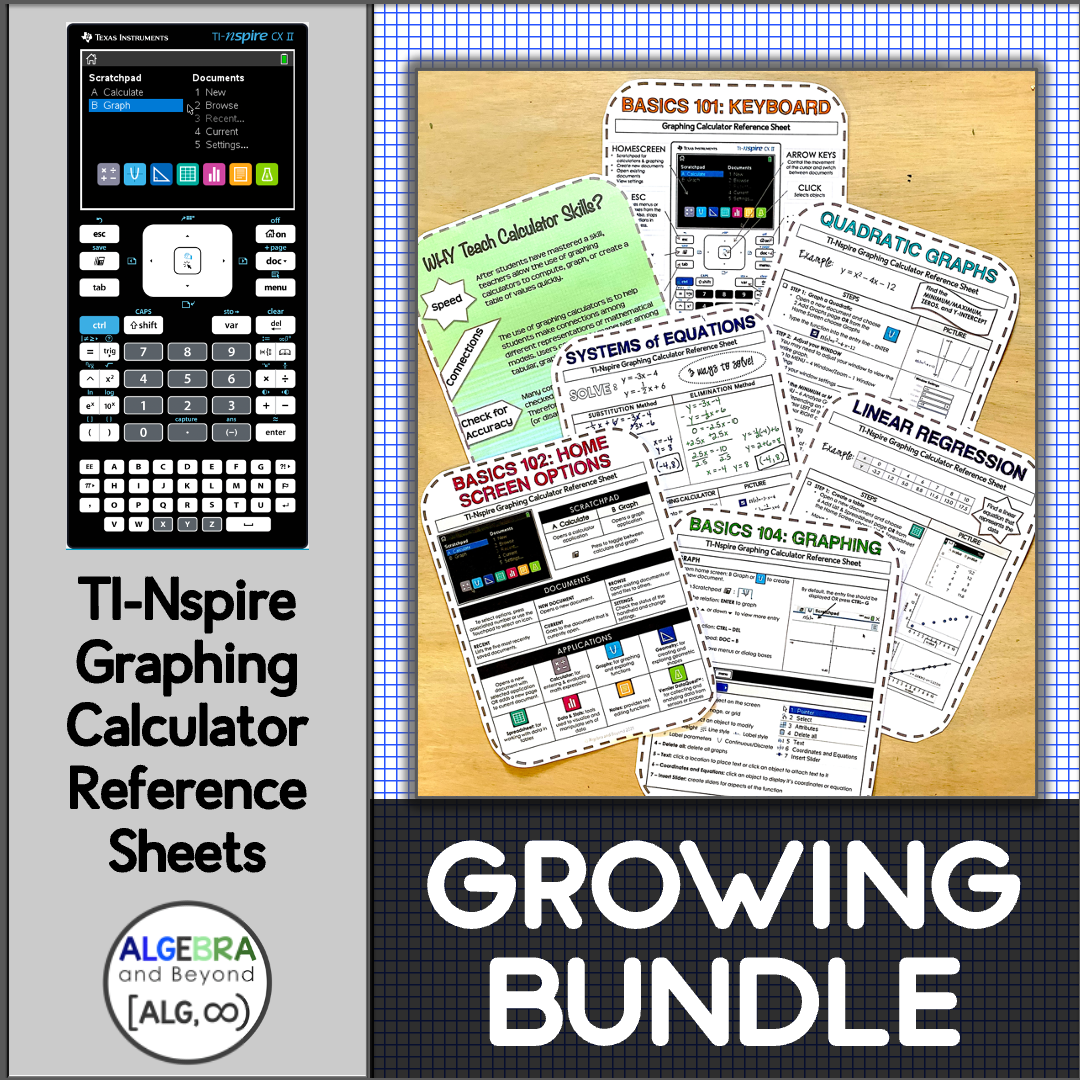
Do you want to make it easier for your students to navigate the TI-84 graphing calculator? Watch my video that covers some tips and tricks you may not know about the TI-84. You will also learn some great ways for students to check their algebraic answers using the calculator, as well as unique ways to graph. After all, calculators are only as smart as their user! To watch the VIDEO and receive FREE Graphing Calculator Reference Sheets, click on the image below: If you are looking for a complete bundle of all of my TI-84 or TI-Nspire calculator sheets, to help your students easily maneuver though the calculator, you can click on one of the images below: These sheets will help you integrate calculators into your lessons as a central tool in developing students’ mathematical connections, conceptual understanding, and procedural fluency.
0 Comments
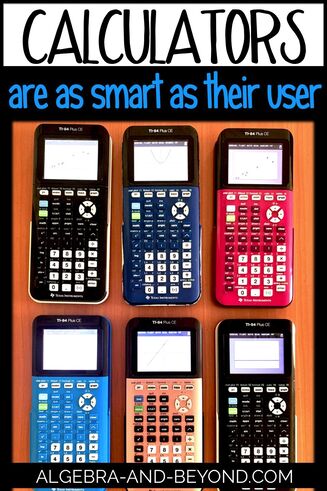 
The TI-84 calculator can be an amazing and useful tool for students, IF they know how to use it.
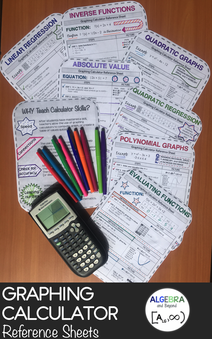
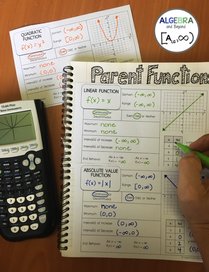
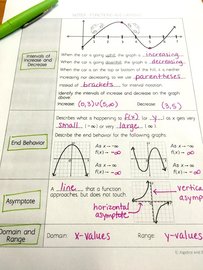
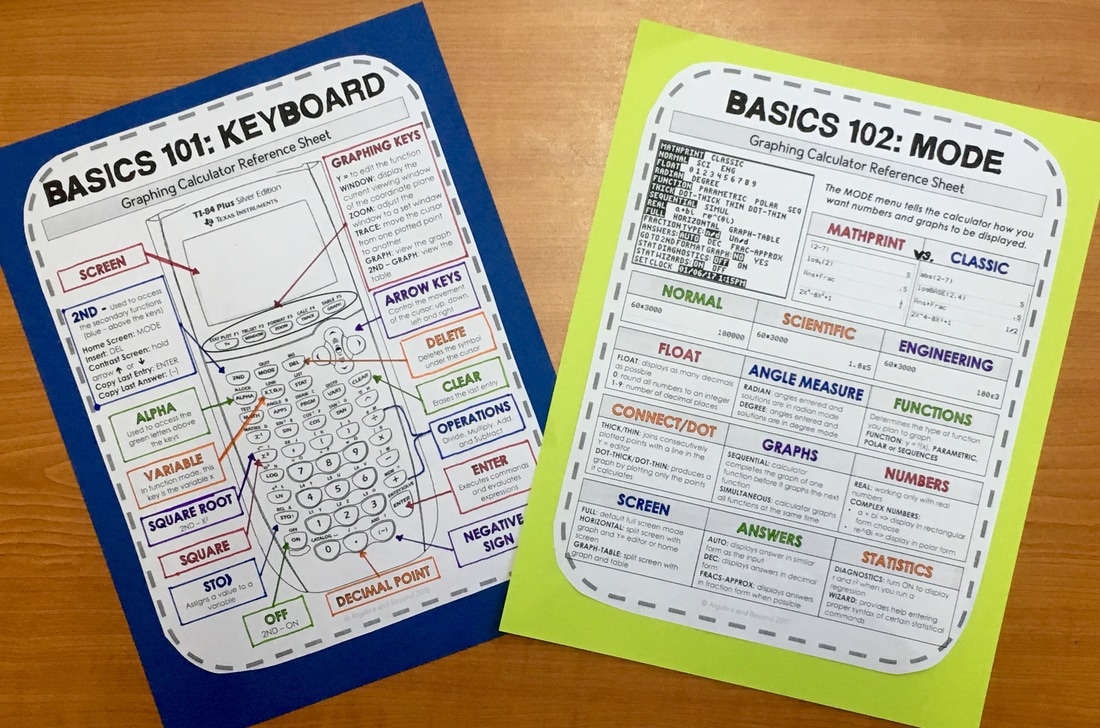
Eight years ago, when I first starting teaching high school math, I would verbally tell my students step-by-step what to do on the graphing calculator. Oh, the misery of repeating myself 100 times! Then, I tried writing the steps on the board, so they could write them down for future use. It’s actually quite tricky to write the calculator steps down because of the different keys you can use, students not knowing how to use specific keys, such as the “2nd” key, and not having visuals of what should be on their calculator screen. We managed as best we could for a few years. Then, about five years ago, my school purchased the TI-Smartview software for me. This helped a lot! The students were easily able to follow along one keystroke at a time. It was great, I thought I found a solution to my problem. Unfortunately, more often than not, when my students came back the next day, they forgot the steps they used with me in class. Of course, they did. Ugh, it was back to the drawing board. The other issue I was running into, was after we spent the majority of the class period learning everything algebraically, most students didn’t want to spend any more time with instruction. They didn’t care that their graphing calculator could confirm the answer they found algebraically. Nope, they just wanted to start their homework as soon as possible. ME: But wait, let me show you how to do it on the calculator. It can confirm or deny about 90% of the all the work you do in this class. Don’t you want to be sure everything you do is correct, especially on quizzes or tests? STUDENTS: Ugh, no, we just want to start our homework. This not wanting or knowing how to use the calculator to their advantage kept bothering me. Then, one day, I had had enough. It happened last year, I had a student that could play Tetris on the TI-84 calculator (or some other crazy game I’ve never seen on the calculator before), BUT he didn’t know how to graph a linear equation in Y= editor. My mind was blown. I had the most difficult time with this student trying to get him to understand and navigate the graphing calculator for MATH. In lieu of all of this, I became determined to create graphing calculator reference sheets. No more students forgetting steps. No more writing steps on the board. No more taking up extra class time to learn the keystrokes. No more excuses. Period. The graphing calculator reference sheets have been awesome this year! My students have the steps and visuals right there in front of them. And if we don't have time in class to go through it together, no problem. The steps are so clear, they can do it all on their own. Even my Calculus students love using them, because they forget steps too!
What has been even more exciting is I am learning more of what the TI-84 is capable of as well. For example, you can graph a piecewise function?! I had no idea.
I began creating the sheets with about 10-15 in mind. Then, I realized it’s going to be closer to 20. Now, I’m thinking over 30. But who knows, there really is so much you can do with graphing calculators! Are you in desperate need of a calculator solution like I was? Check out some of the sheets below. If you don't see what you are looking for, check out my store for more! 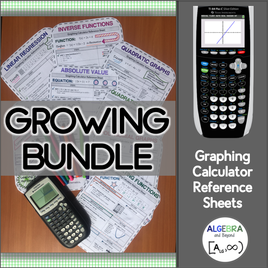
Would you like them all? You can get them here. If you have a request for a specific reference sheet, email me here.
|
Hello there,
|



 RSS Feed

